Thumb.ly AI is a powerful Chrome extension designed to effortlessly make YouTube thumbnails directly inside YouTube Studio.
Thumbly AI takes the hard yards out of making thumbnails by generating suggested text using AI to ensure you have the best copy that will entice users to click to watch your videos.
Additionally, you can add images such as play buttons, logos or other creatives that will make your thumbnails pop. You can also select a frame from your video that becomes the basis for your video and acts as a preview of your video content.
Install thumbly AI Chrome Extension
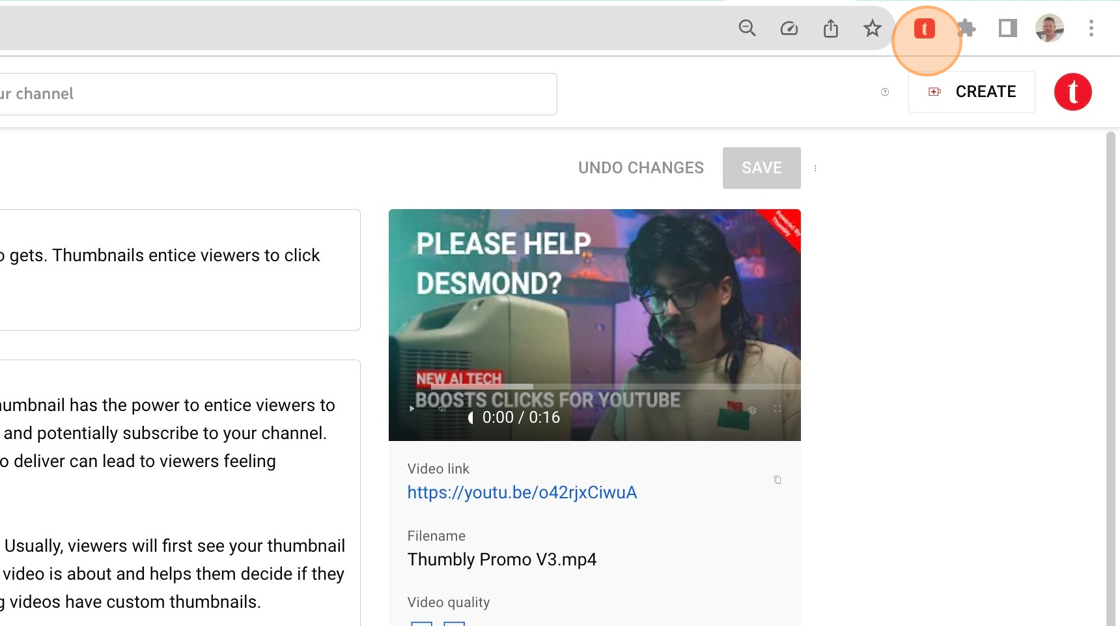
1. Once you have installed the thumbly Chrome Extension, click on the thumb.ly icon in your browser to open the extension.
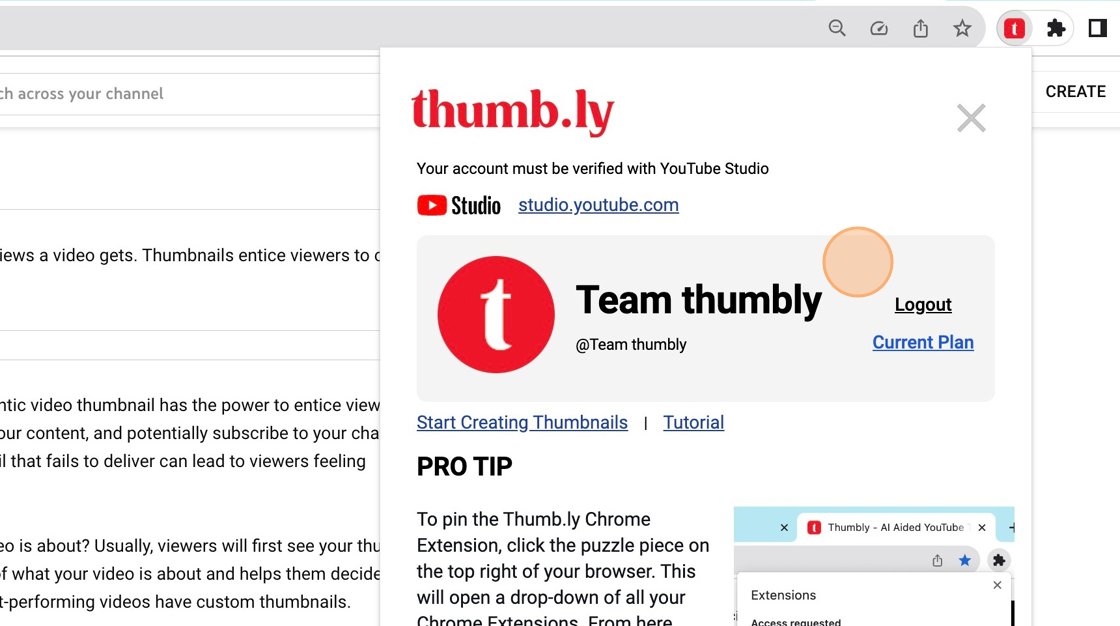
2. If you don’t have a Thumb.ly account already, sign up using the same Google account you use for YouTube Studio.
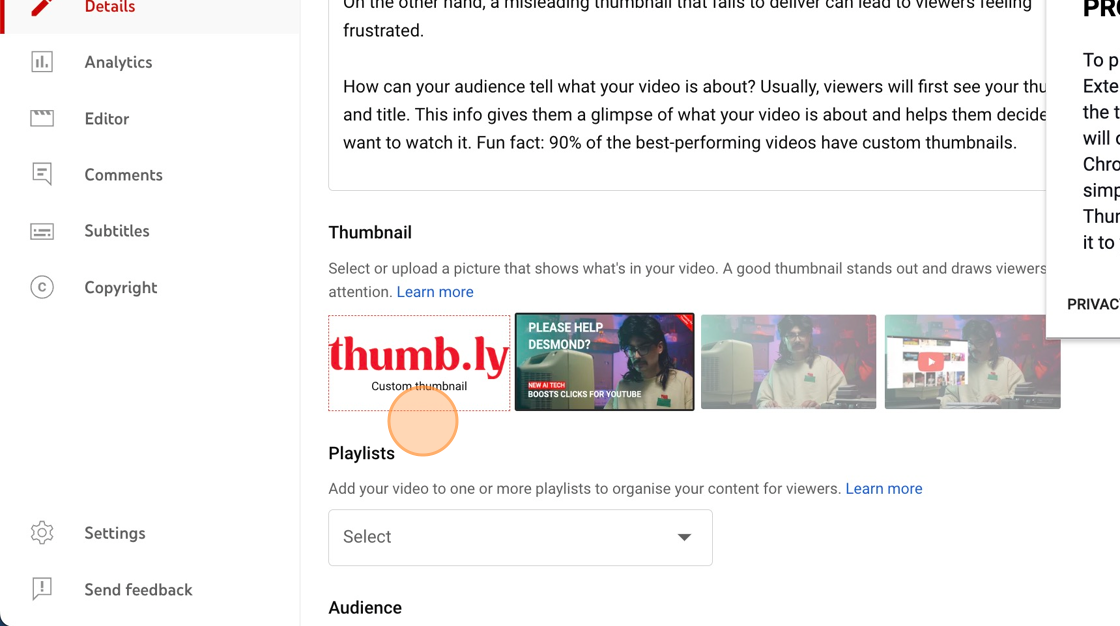
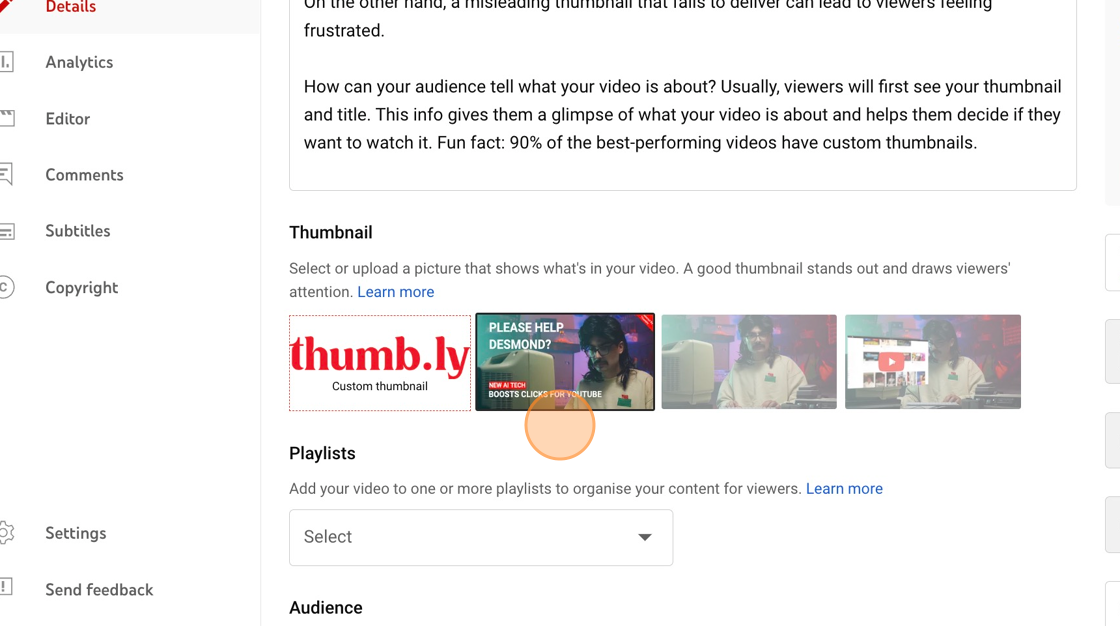
3. Under the Thumbnail section, click on the Thumb.ly Logo.
NOTE: Before clicking on the Thumb.ly logo, ensure you have added a title and description for the video. This helps the AI work out what will be the optimal text for your thumbnail.
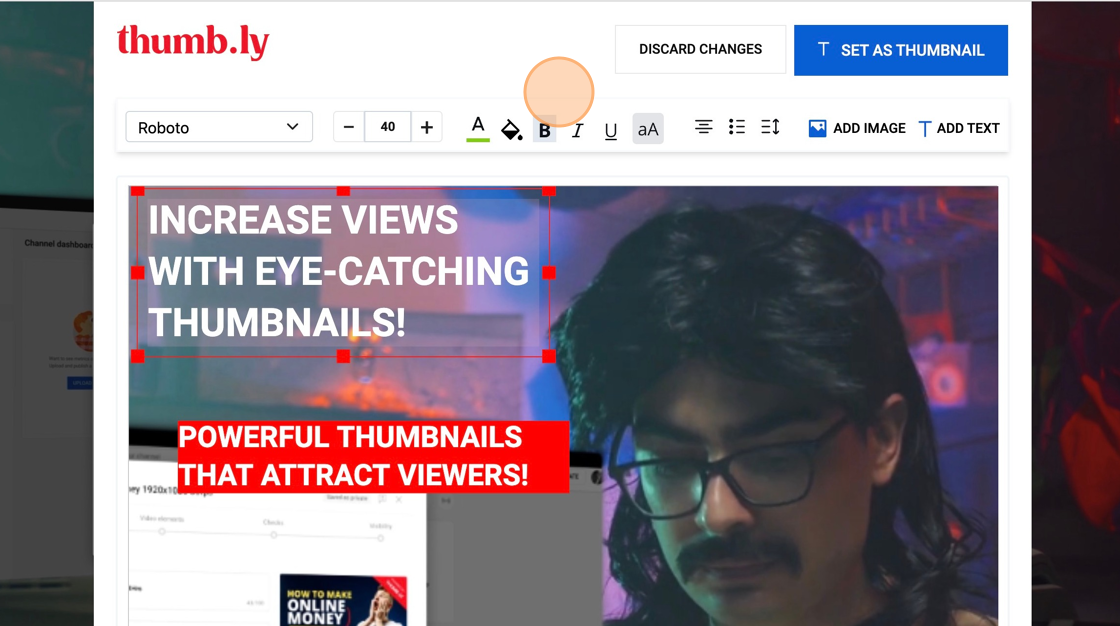
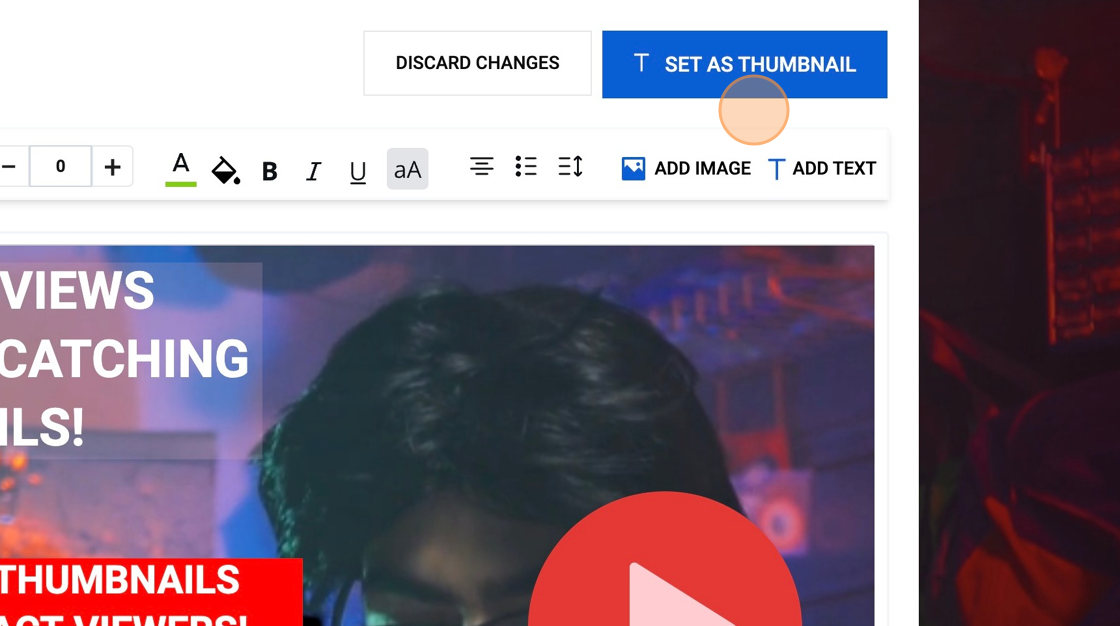
4. You will now see the editor and the generated AI-suggested text. To edit the text, click on the text and delete or type words as required.
There are other controls that enable you to change text size, colour and background.
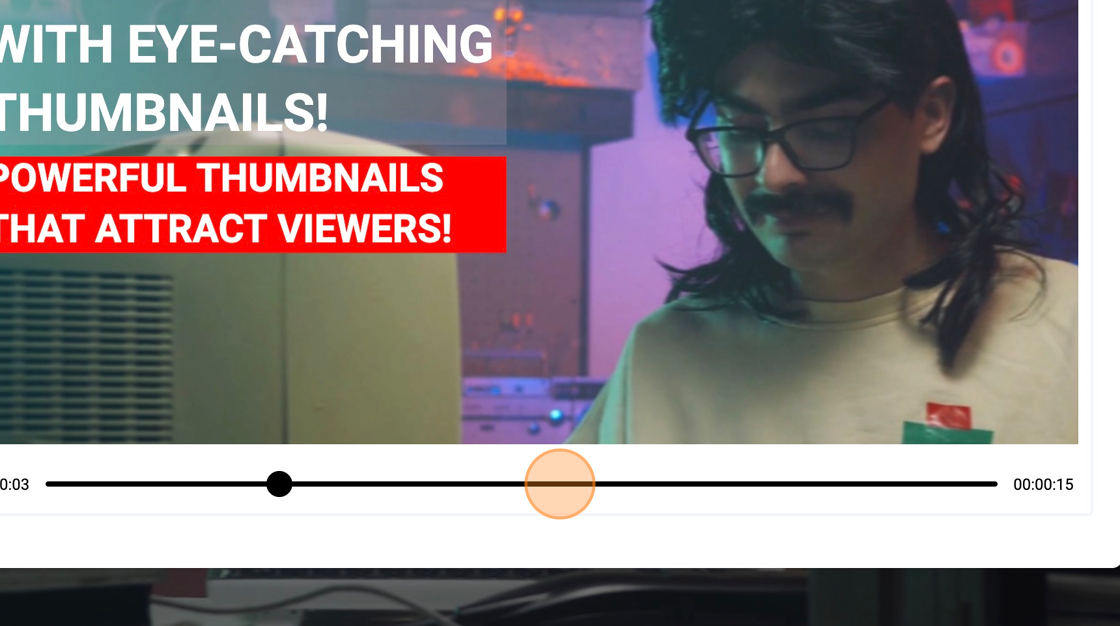
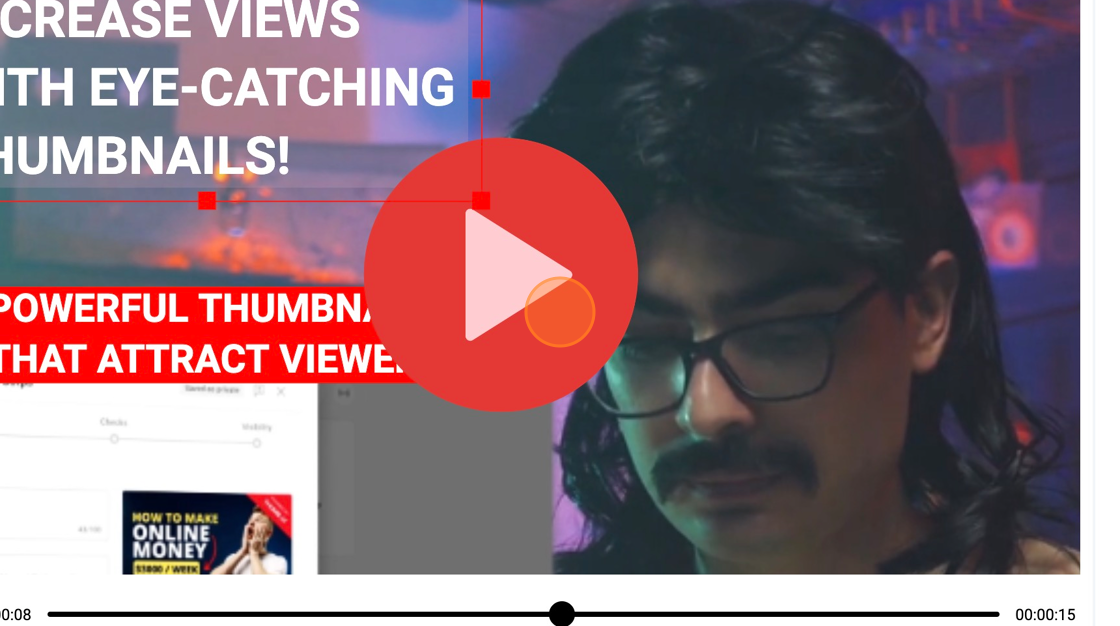
5. Selecting your frame – It’s a good idea to select a frame that represents the content of your video and evokes the user to click on your thumbnail. Also, look for frames that show interesting facial expressions.
Move the black circle on the slider to find a good frame that will be the background for your Thumbnail.
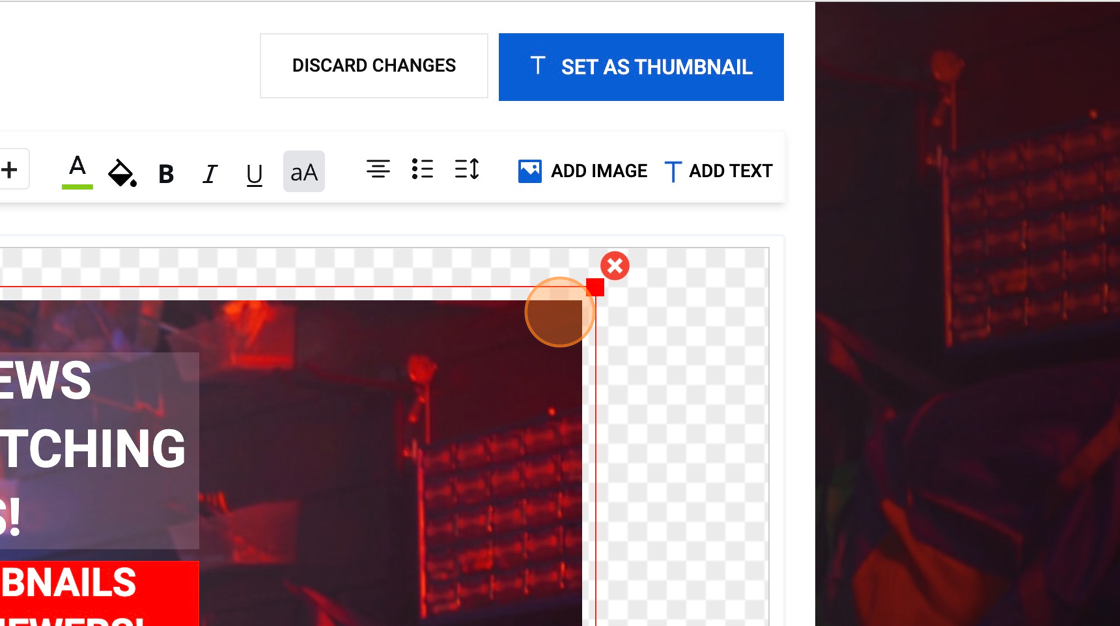
6. You are also able to resize the frame by dragging the corner of the video. This is good for when you want to have a close-up of a person or object in your video.
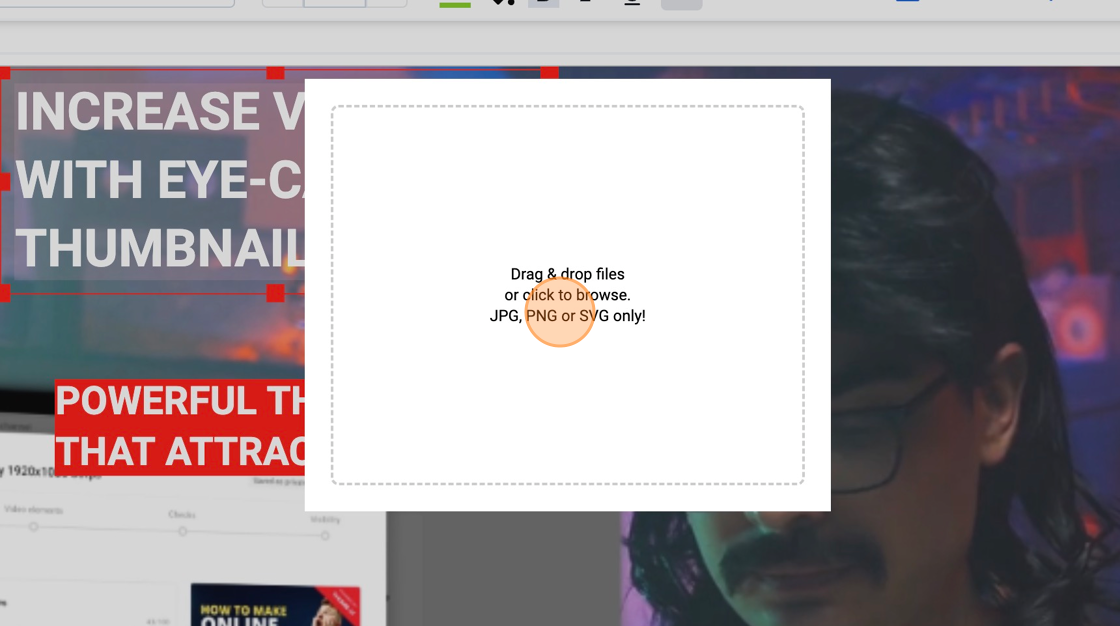
7. Click the add image button to add images to your thumbnail. This can be used to add play buttons, logos or other images you may have that will represent the content of your video, such as a product image.

8. You can add, JPG, PNG or SVG image types for use in your thumbnail.
9. An uploaded image can be resized, moved and rotated in the editor.
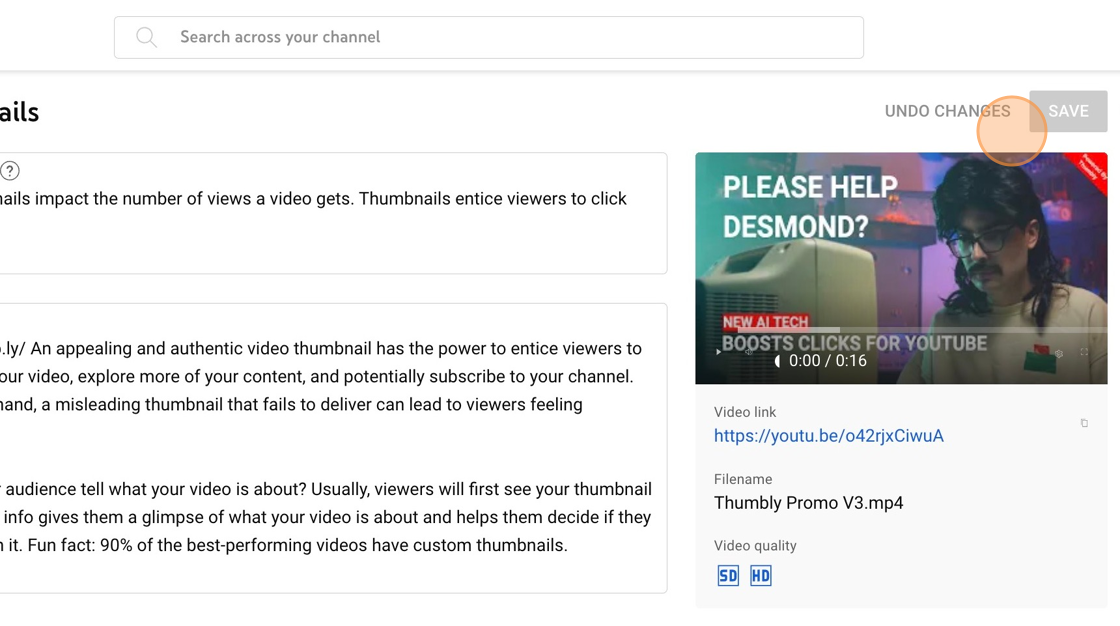
10. Once you are happy with your thumbnail click the “SET AS THUMBNAIL” button.
11. You will now see the thumbnail in YouTube studio.
12. The last step is to save your video in YouTube Studio.